|
|
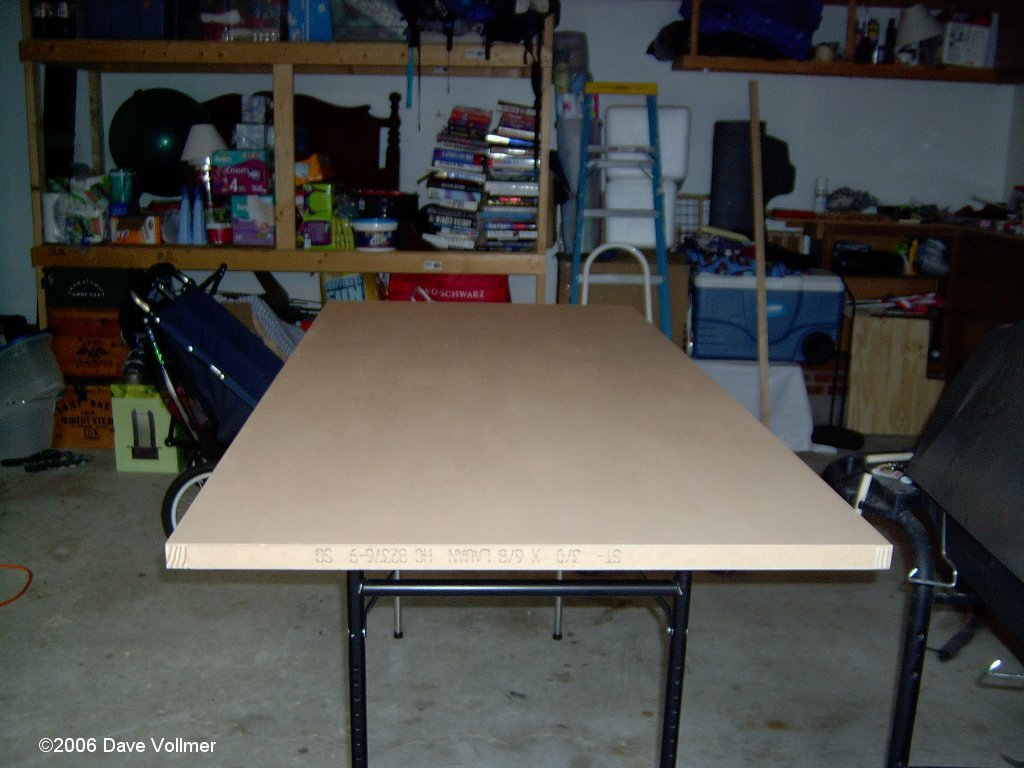
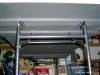
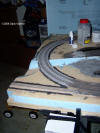
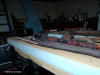
The table is made from a 36" x 80"
hollow-core interior door mounted on folding, telescoping H-style
table legs. |
|
|
Detail of mounting for table legs.
They're secured to 1x3s mounted to the underside of the door. |
|

|
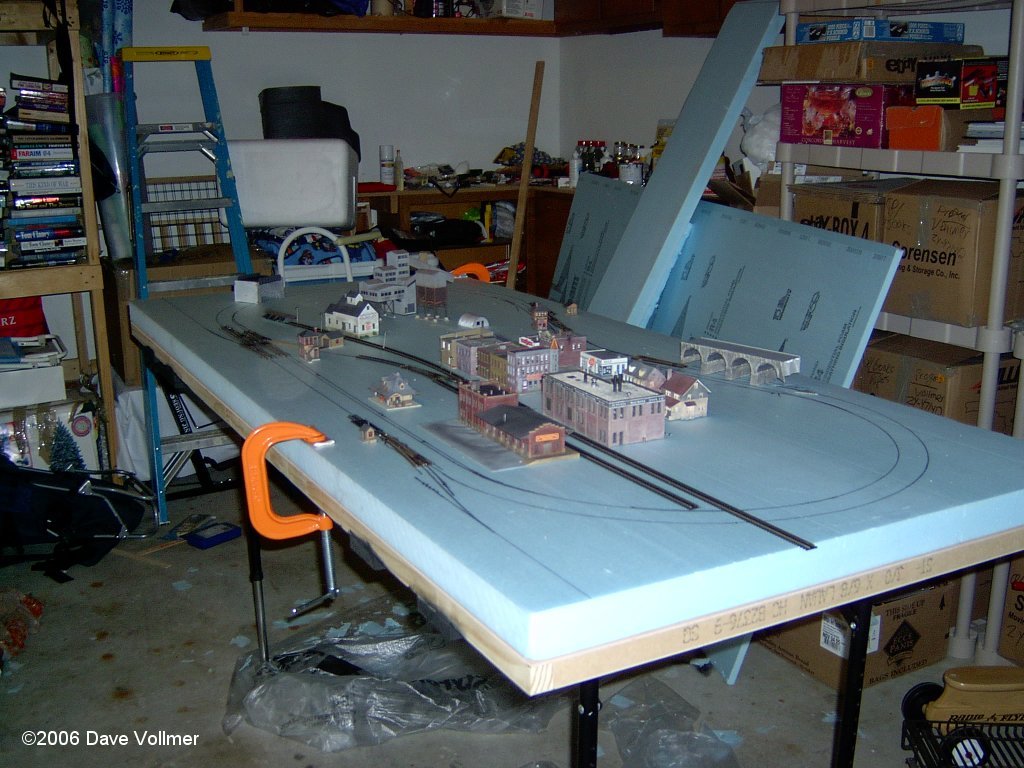
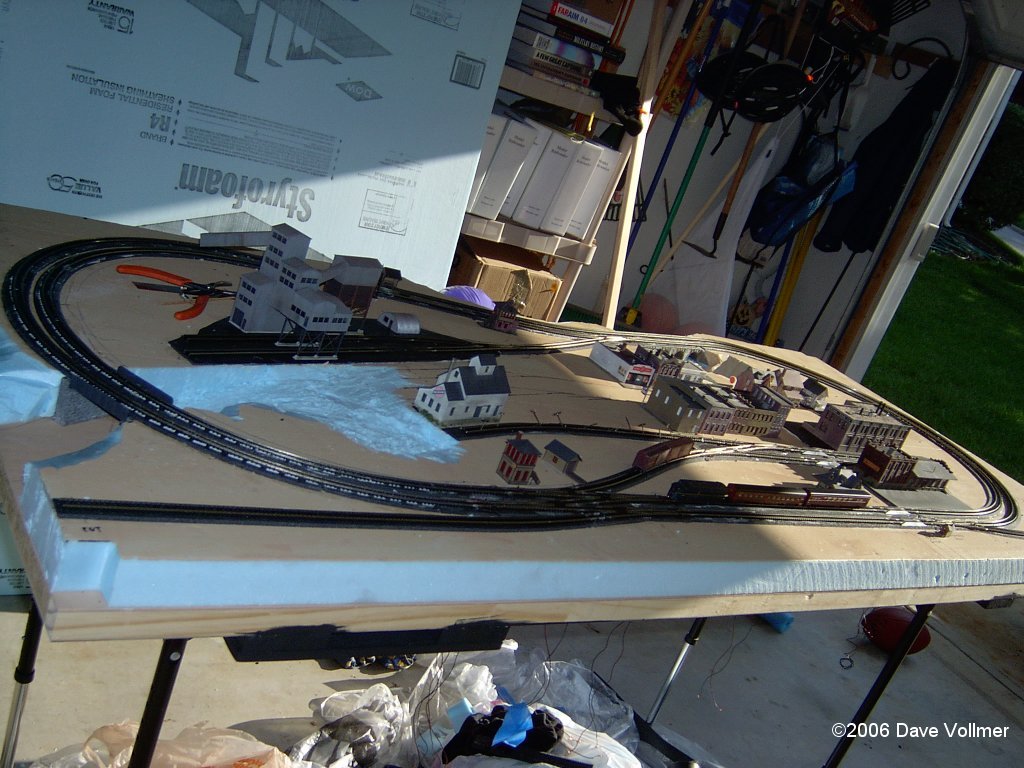
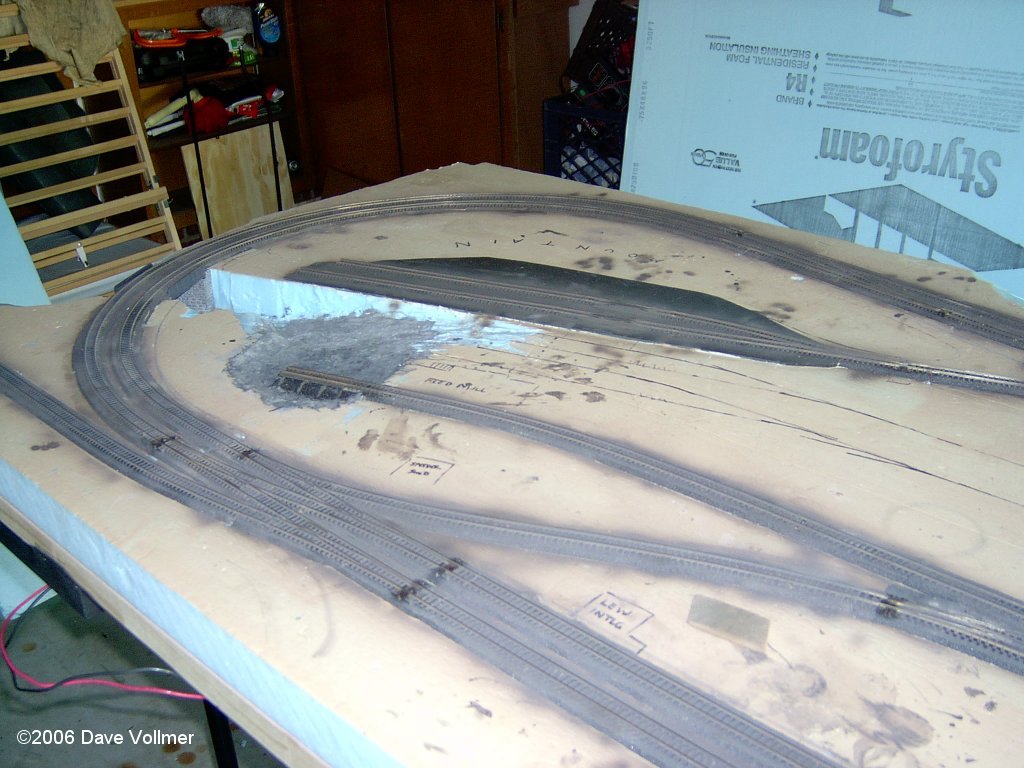
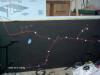
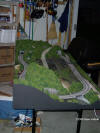
If Pennsylvania were made of blue
foam, the layout would have been done by this point. |
|

|
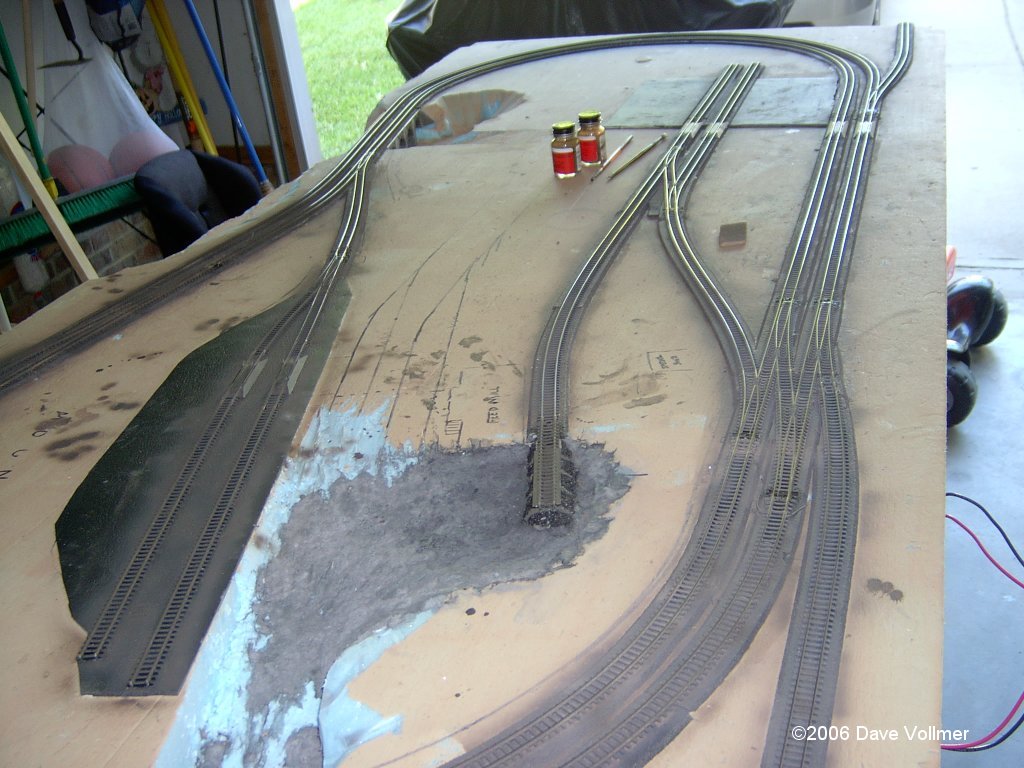
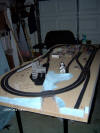
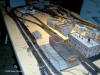
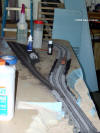
Here I'm test-fitting the track and
structures. Working out a plan to scale helps ensure fewer surprises
as the layout is built. |
|
|
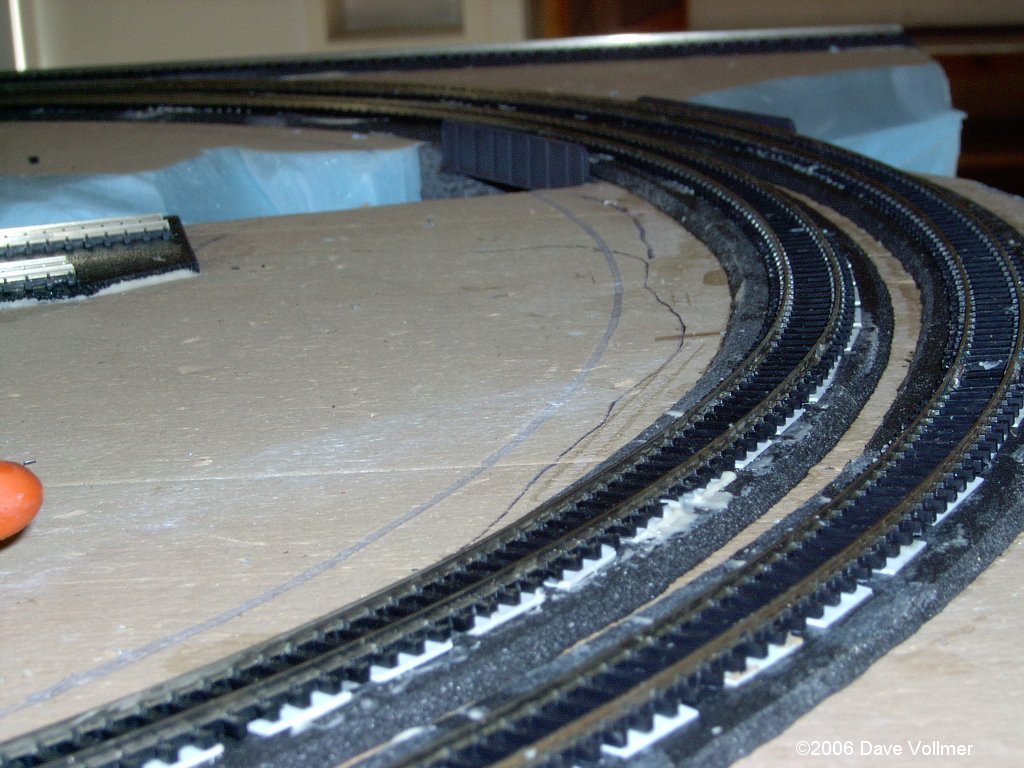
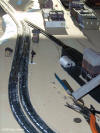
Grading has begun. This is Woodland
Scenics Trackbed. |
|
|
Grading progresses... Roadbed laid
over Jack's Run Bridge. |
|
|
Grading is complete! |
|
|
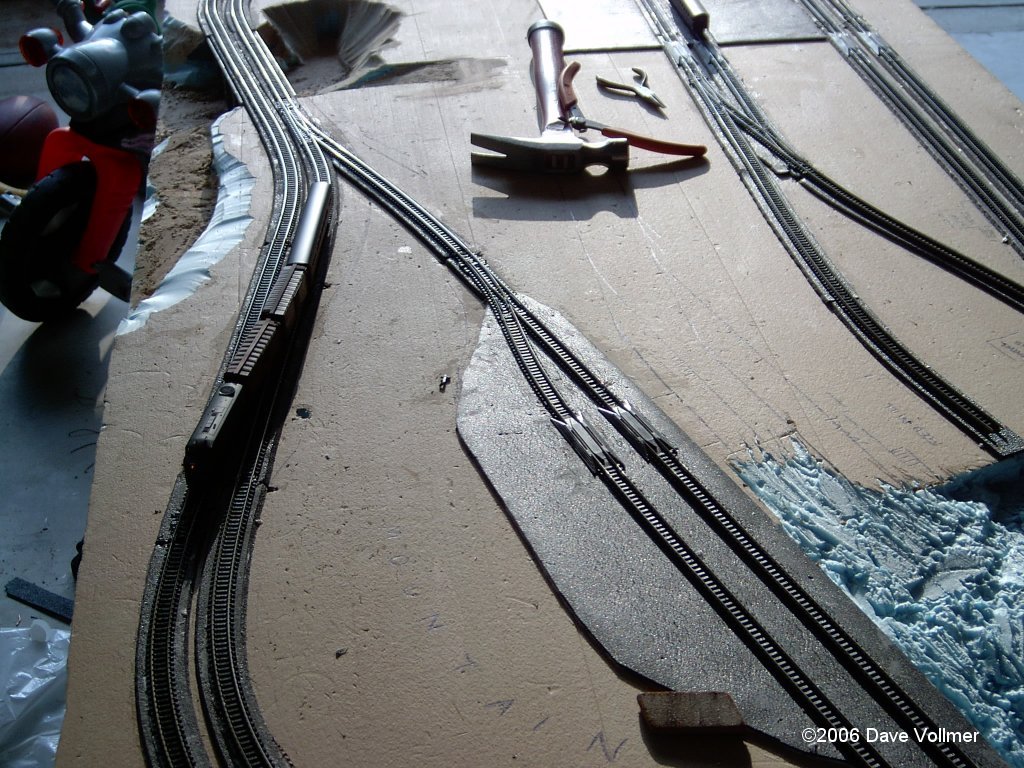
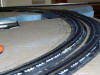
Tracklaying begins. Track is held in
place with Liquid Nails Projects. |
|
|
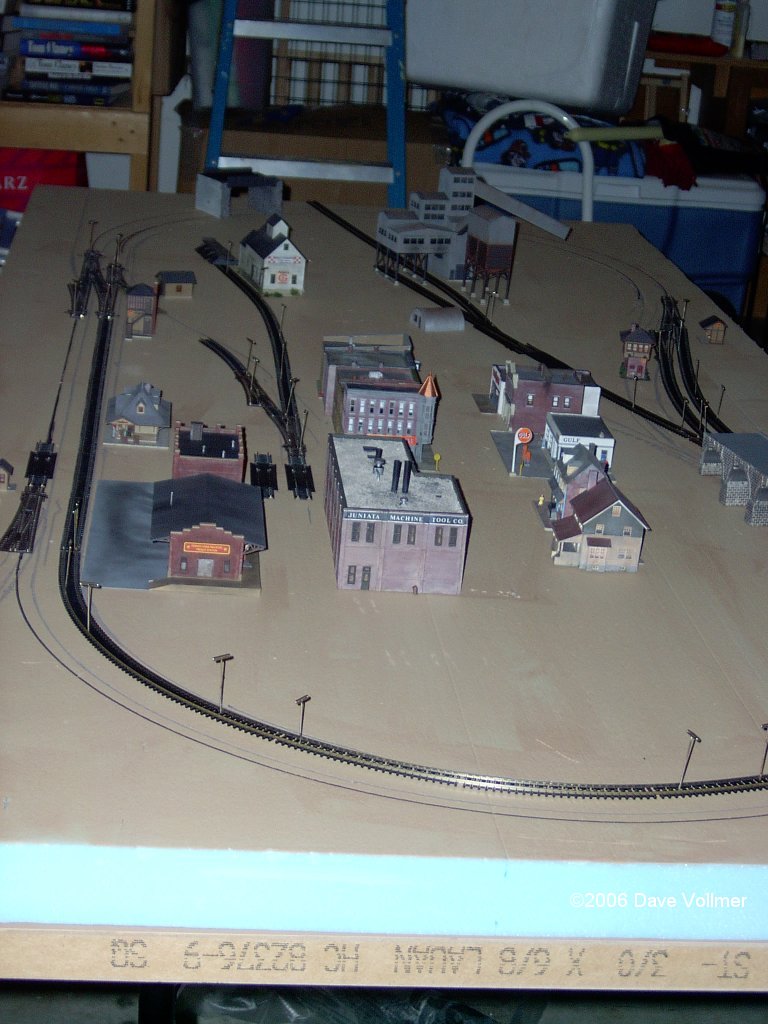
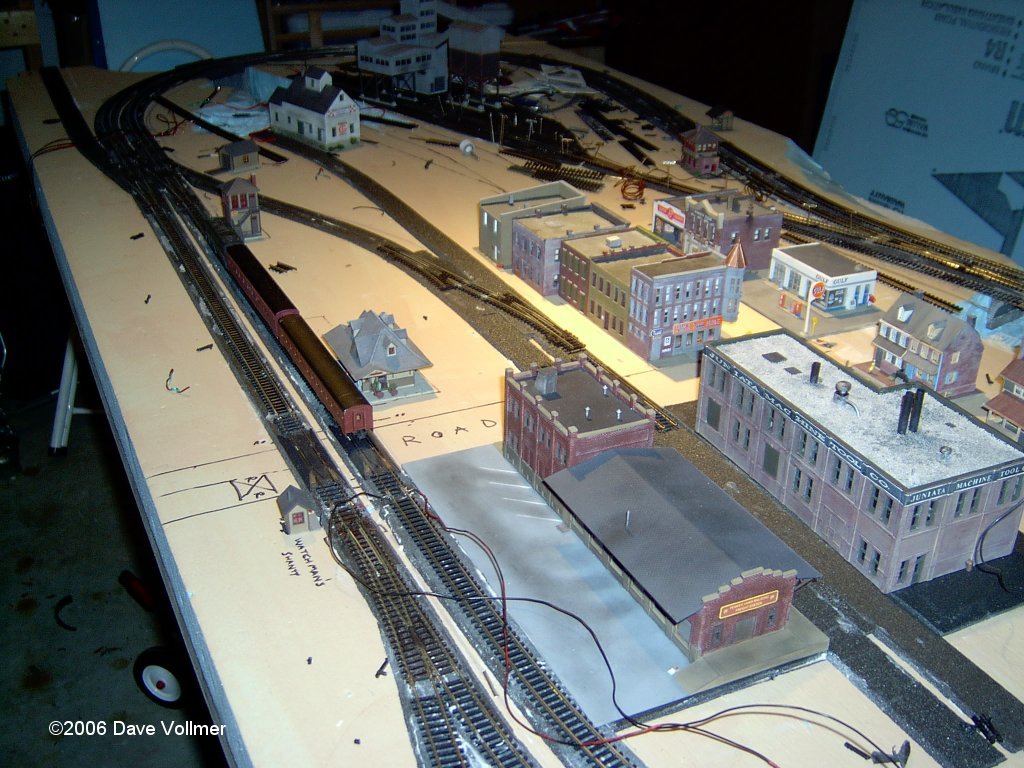
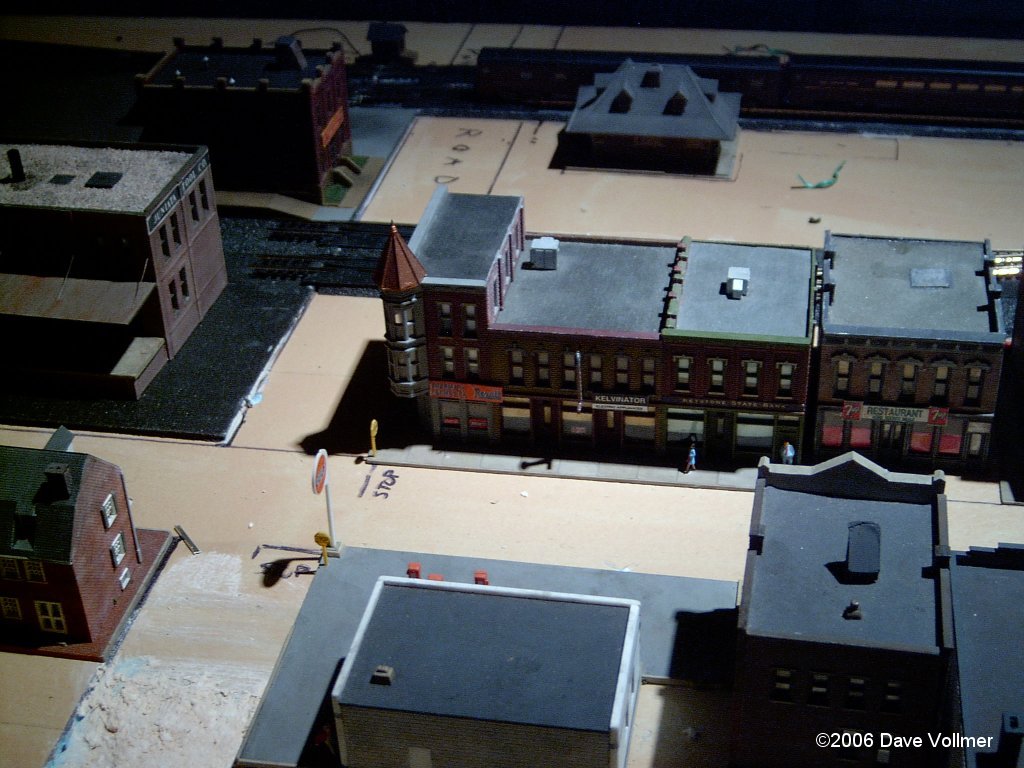
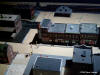
Laying out the town of Lewisport.
Most of these structures come from my old layout. |
|
|
Laying track at the mine. |
|
|
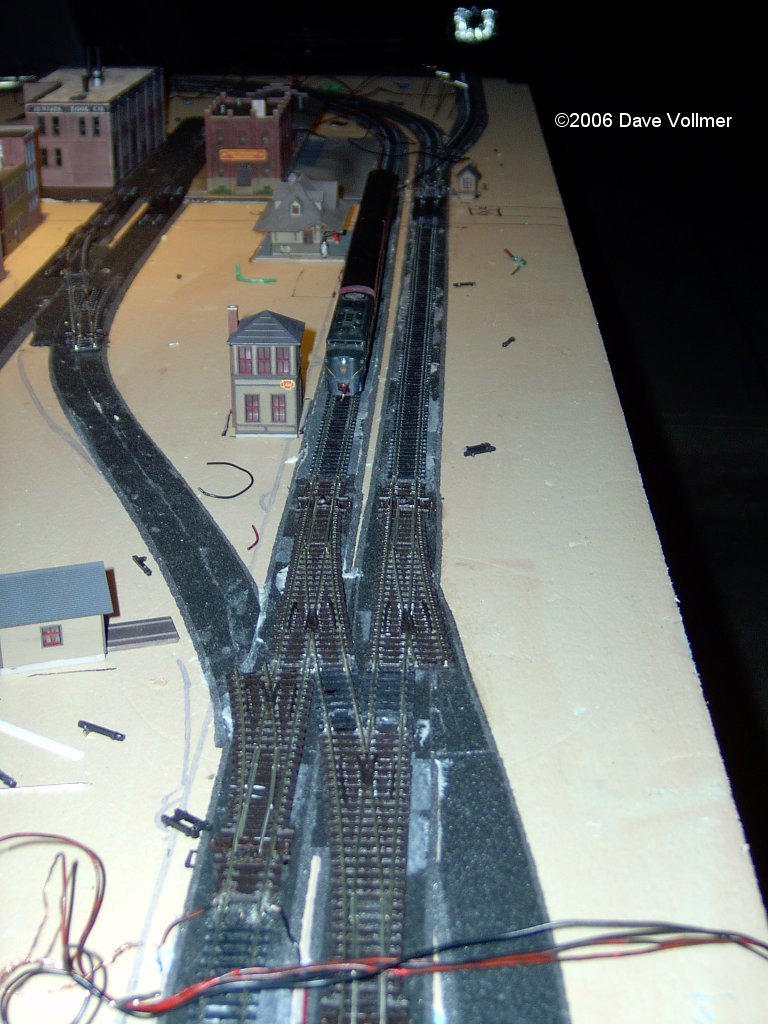
The crossovers at LEW Interlocking
have been installed. |
|

|
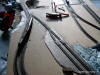
At last! Tracklaying is done! All of
the rail joints are soldered for electrical continuity. An advantage
of a portable layout like this is that it can be built in the
garage, where you can open the garage door for ventilation. When
it's done the layout will go upstairs into the bonus room. |
|
|
Here is the crossover at M
Interlocking (East Mifflin). Also note the first of 8 position light
signal masts to be installed. |
|
|
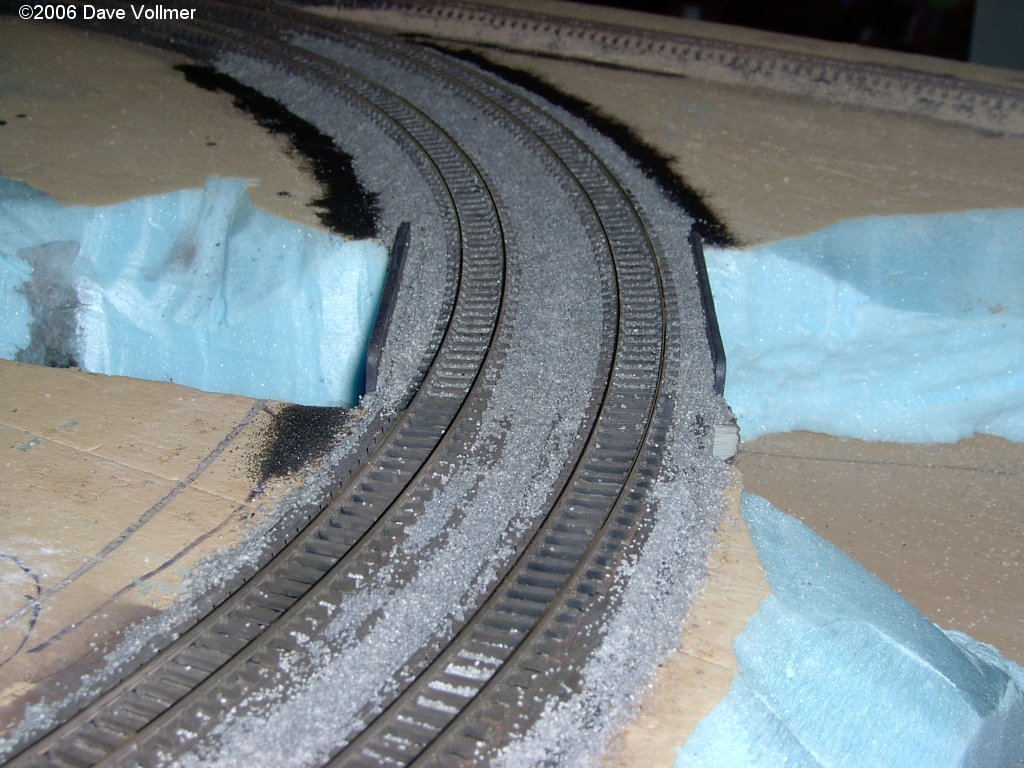
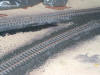
Detail of superelevation on curves.
Shims are 0.010" styrene on the easements and 0.020" in the curve. |
|
|
The Standard Railroad of the World
runs again... Here's the first test train running on the layout. The
eclectic consist includes a P85br coach to check clearances. |
|
|
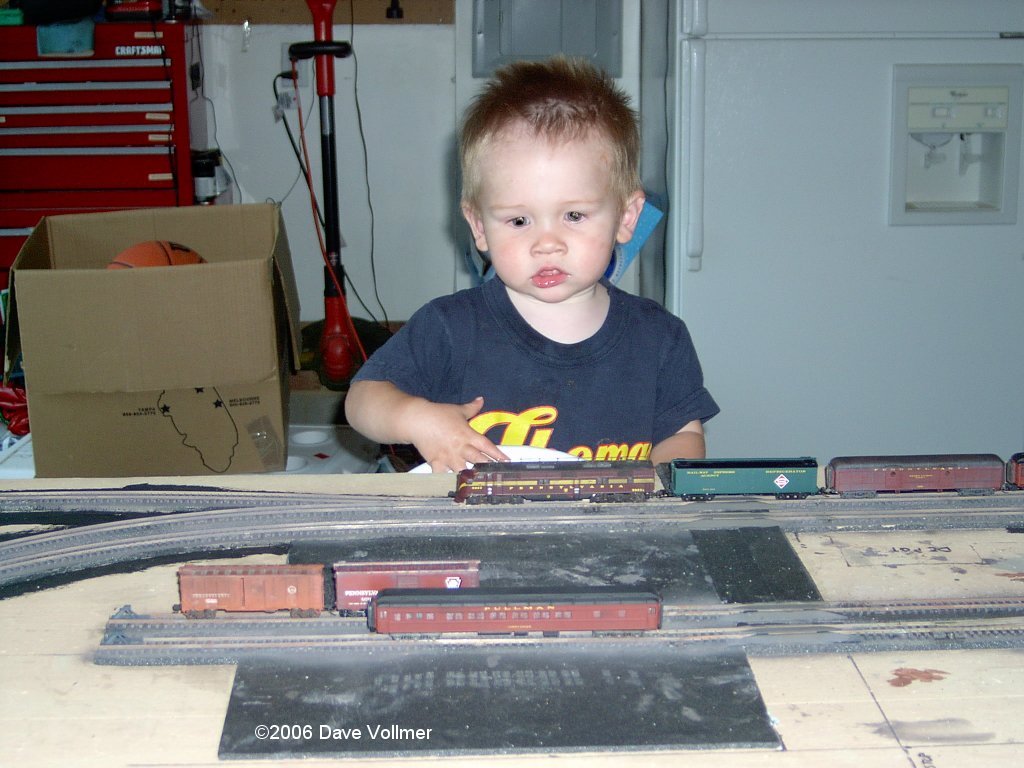
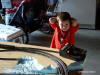
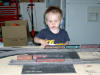
Here's my son (and
junior engineman) Jake watching the first train. I've been using the
old MRC Tech II power pack to test each section of track. The
Digitrax Super Empire Builder set is sitting upstairs attached to
the old layout, awaiting installation on the new one once I'm
satisfied that all the bugs are worked out. |
|
|
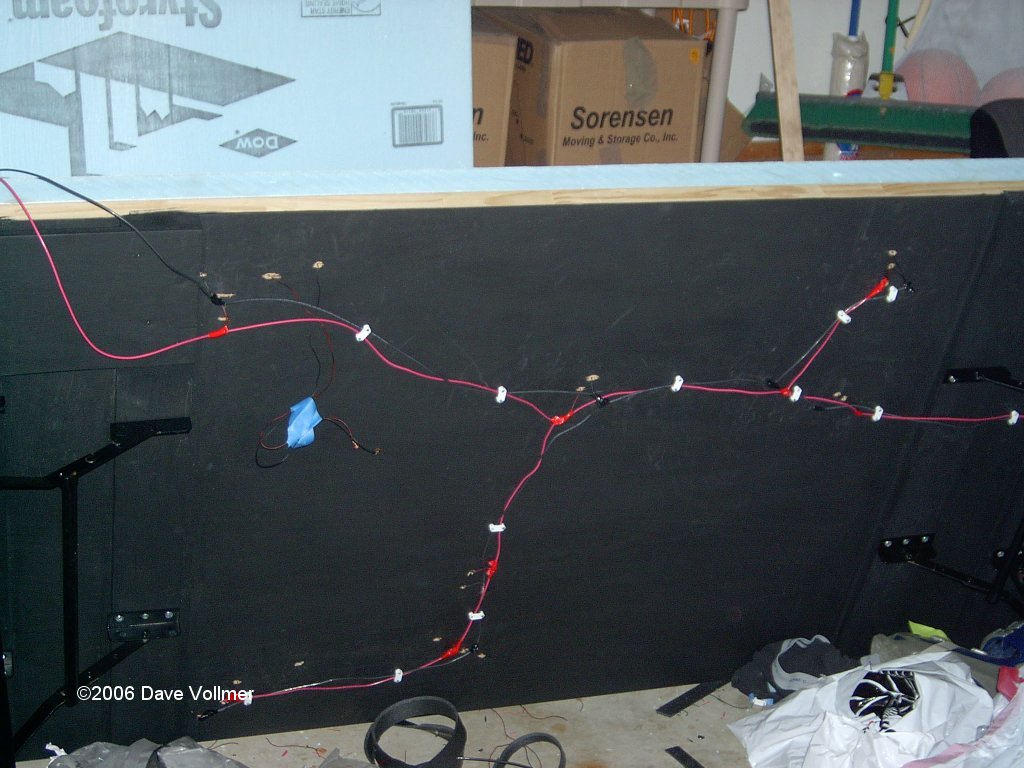
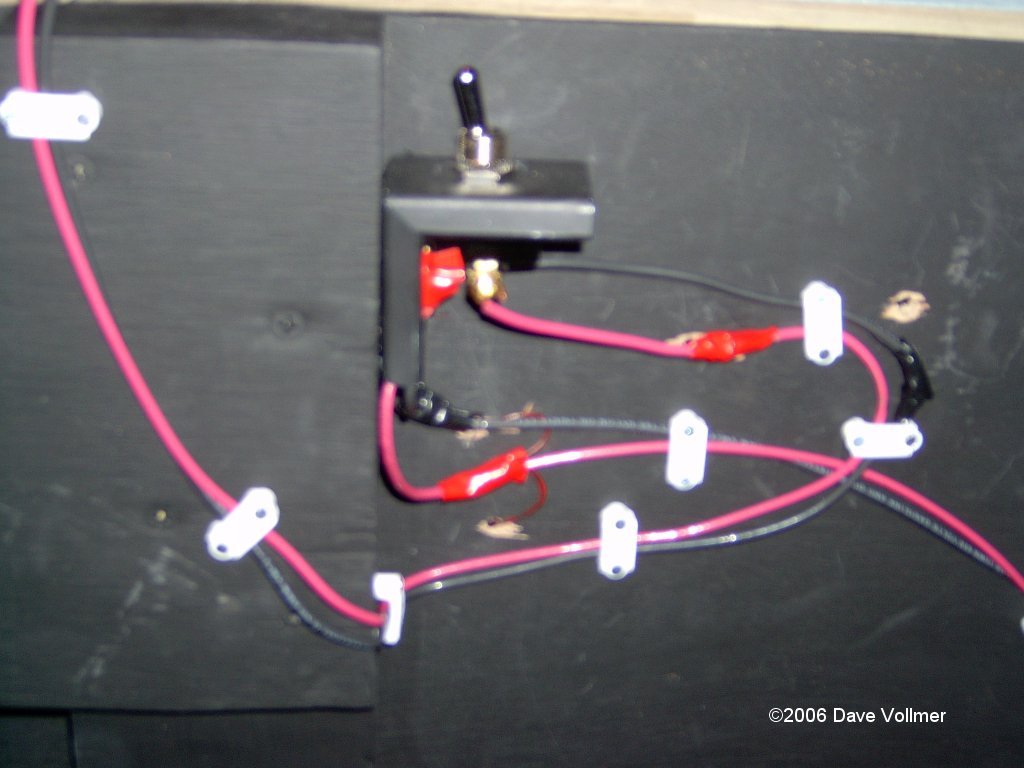
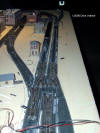
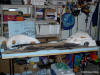
The track power bus is 14 AWG solid.
The feeders are 24 AWG stranded, and are soldered to the bus. The
soldered joints are insulated with electrical tape. The plastic wire
staples help keep the wiring relatively neat and secure. Feeder
wires are kept less than 6" in length to cut down on resistance. Yet
to be added are the programming track bus, the SPDT switch, the
Loconet cable, and the signal wiring. |
|
|
Here the track has been airbrushed
with Polly-Scale Railroad Tie Brown. |
|

|
Anorther photo of the recently
airbrushed track. After I took this picture I went back and
bush-painted the rails on all of the sidings a lighter shade of rust
(Polly-Scale D&RGW Building Brown) and drybrushed the ties with
Polly-Scale Concrete and Earth. |
|

|
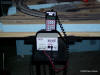
Here's the rather substantial toggle
switch I use to switch between the programming track and the layout.
It can handle all five amps that the Digitrax PS515 can put out. |
|
|
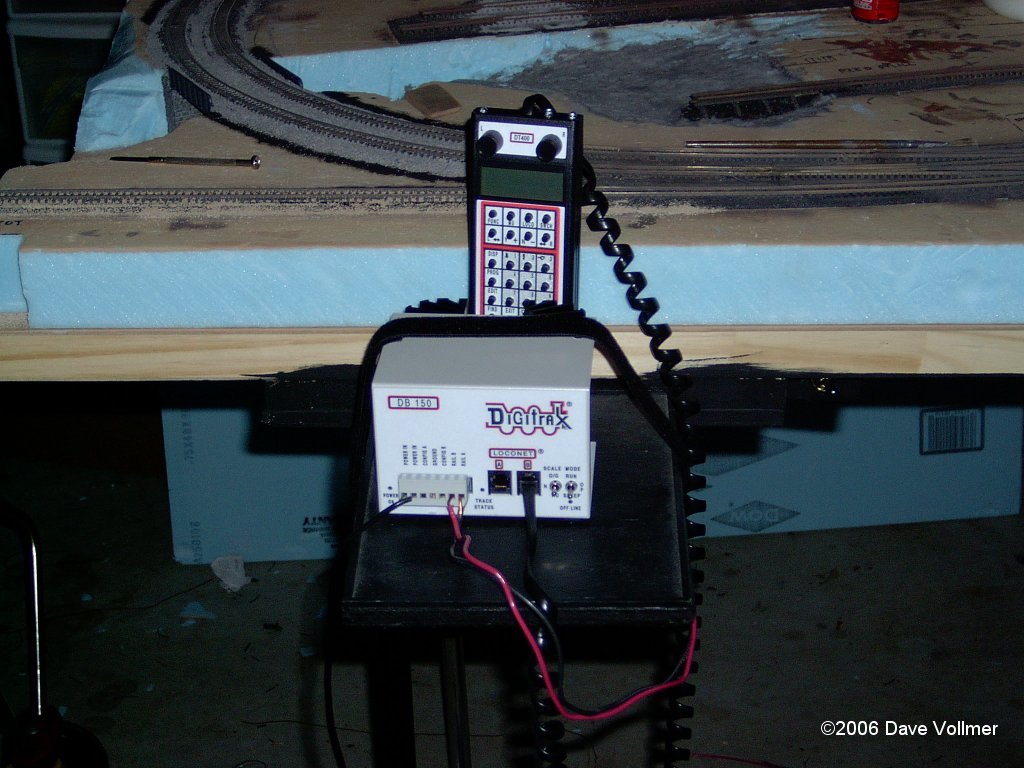
And... we have DCC! Here's the
Digitrax Super Empire Builder set. |
|

|
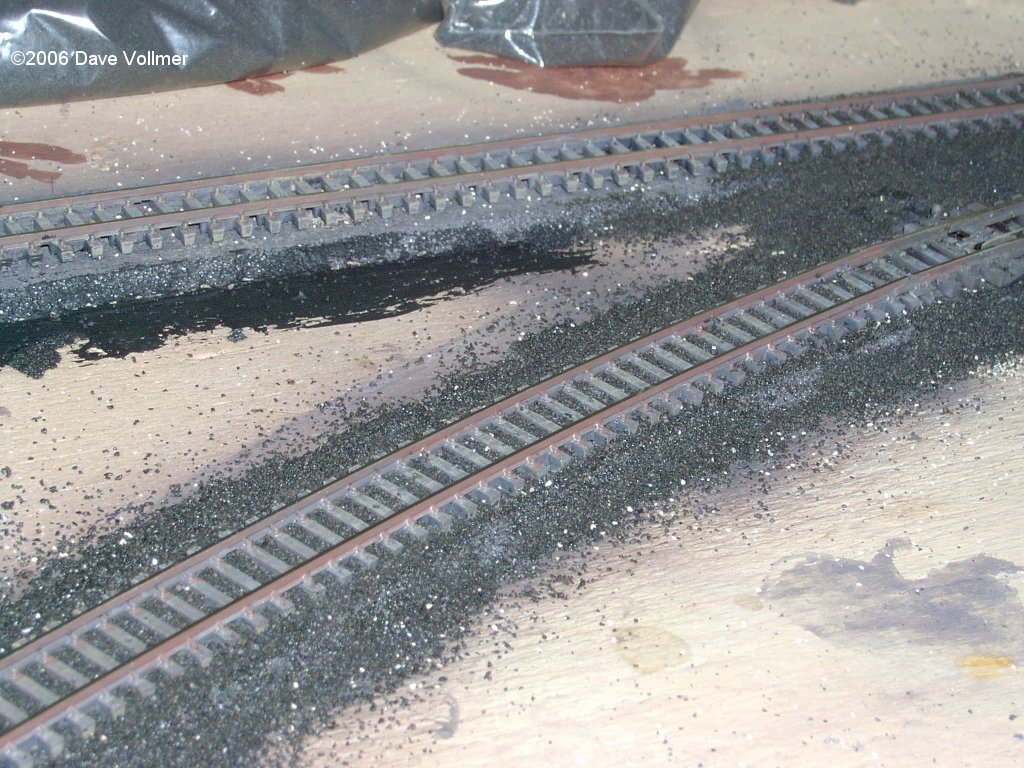
Ballasting begins. I'm using Woodland
Scenics fine gray blend for the mains, buff on the programming
track, and cinders on the sidings. The Cinder shoulder is Highball
fine cinders. The are two schools of though on when to ballast:
before the rest of the scenery and after. The past three layouts I
ballasted after the scenery. This time I chose to do it first
because the ballast helps hold everything in pace and because I
thought I could control the ballast edge better this way (in the
1950s, Class I mains tended to have razor-sharp ballast shoulders). |
|
|
Ballasting continues. I'm not a big
fan of this step, given how slow and meticulous one has to be, but
the results are worth it. |
|
|
Wow... I can't wait until this step
is over! |
|
|
Detail of sidings. Note lighter color
rust, variation of color on ties, and cinder ballast. It helps to
paint and ballast the sidings differently than the mains to
establish a hierarchy of track importance, per real railroad
practice. |
|
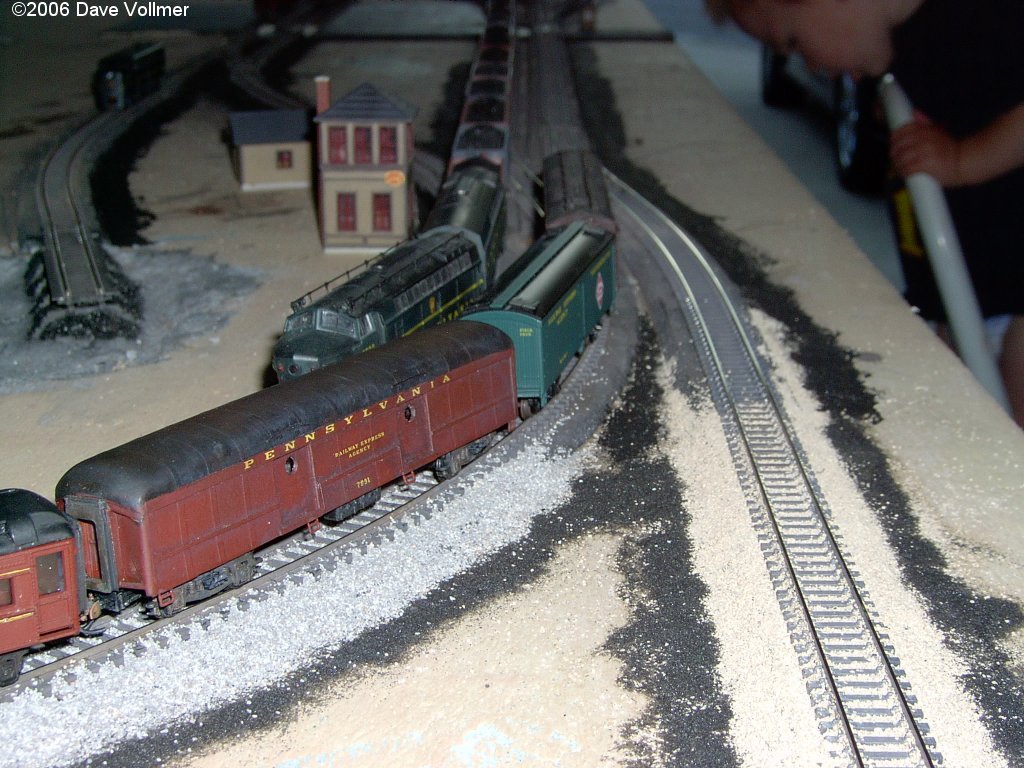
|
Break time! Got tired of ballasting,
so I thought it was time to run some trains. Here a westbound
limited headed by an E7A passes a pair of Baldwin RF-16s on an
eastbound coal drag at LEW tower. That's a Hell Gate Models B-60b
behind the express reefer. |
|

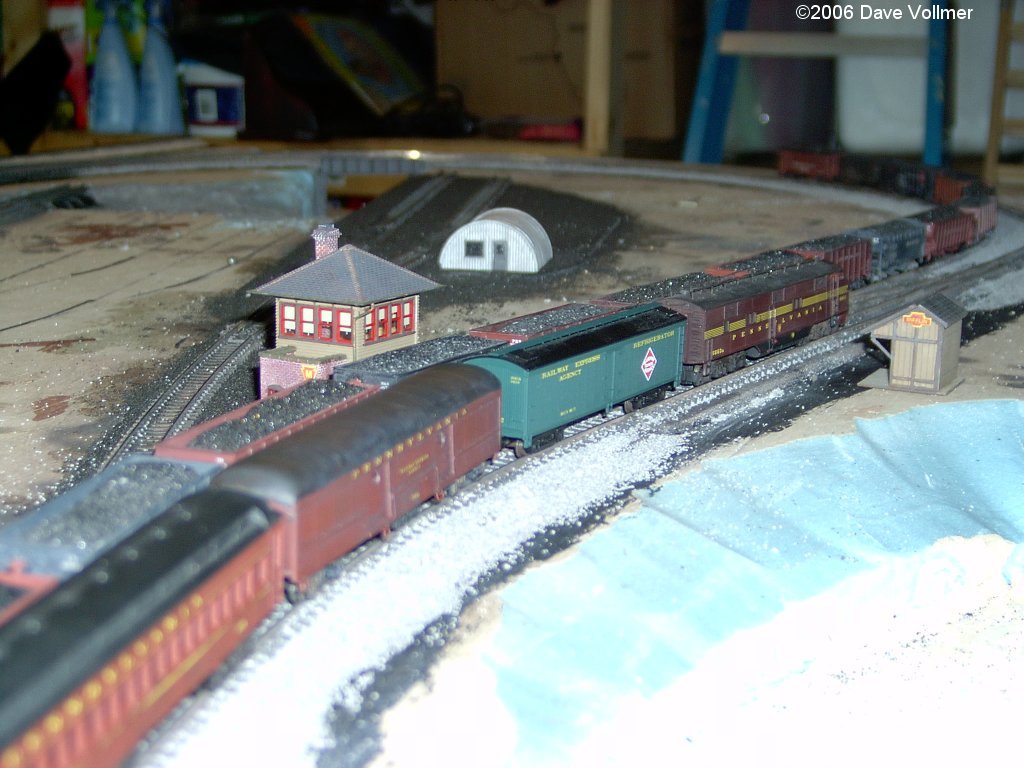
|
Another meet at M Interlocking in
East Mifflin. Hooray for DCC! |
|
|
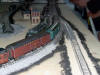
An L1s 2-8-2 on a local passes
another coal drag at LEW Interlocking. |
|
|
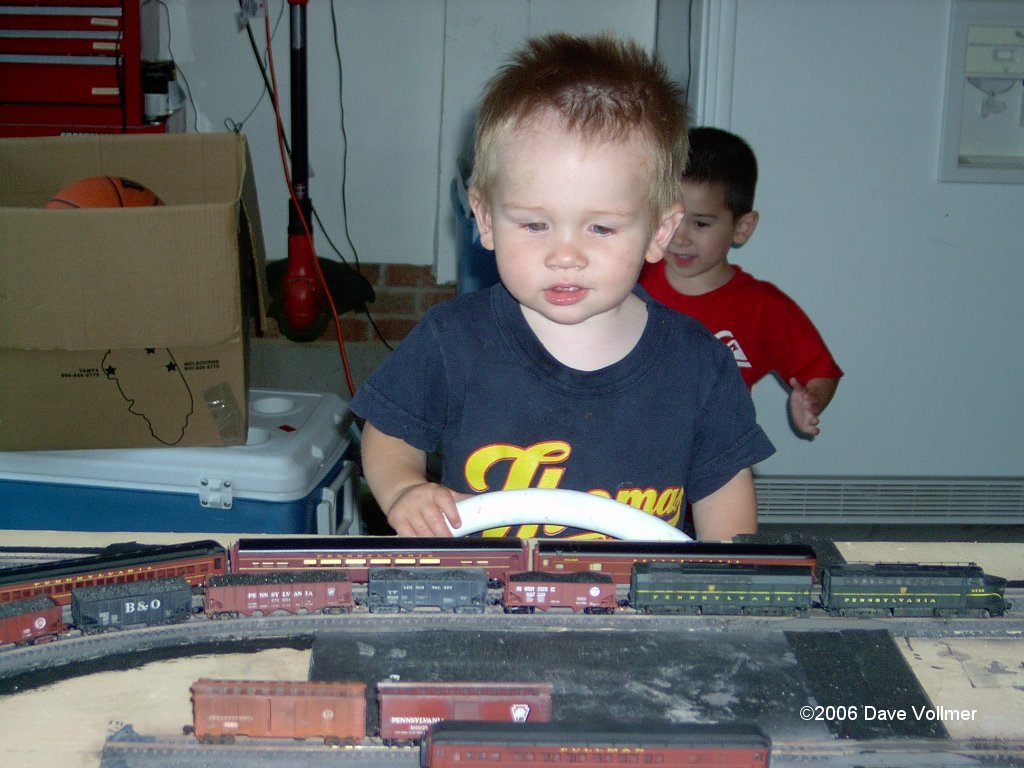
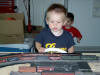
Here my son, Junior Assistant
Superintendent of Operations "Sticky Fingers" Timmy, performs a
roll-by inspection of the eastbound "Driveway Limited." |
|
|
Both boys enjoy some fine railroadin',
courtesy of Digitrax DCC. |
|
|
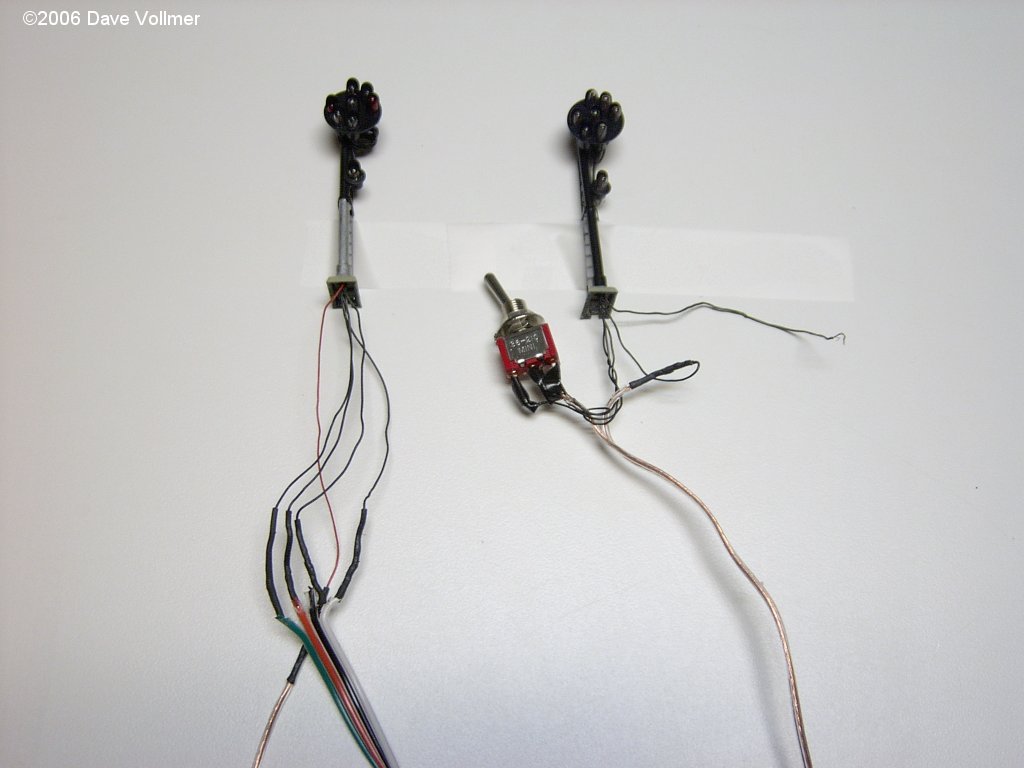
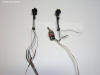
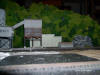
The signals are by NJ International.
The one on the left is a mainline signal (with absolute stop) and
all aspects are wired, eventually awaiting connection to a Signal
Animator from Logic Rail Tech. The one on the right is a standard
signal wired for a siding, with stop and clear indications wired
only to a SPDT switch that will be hidden in scenery. |
|

|
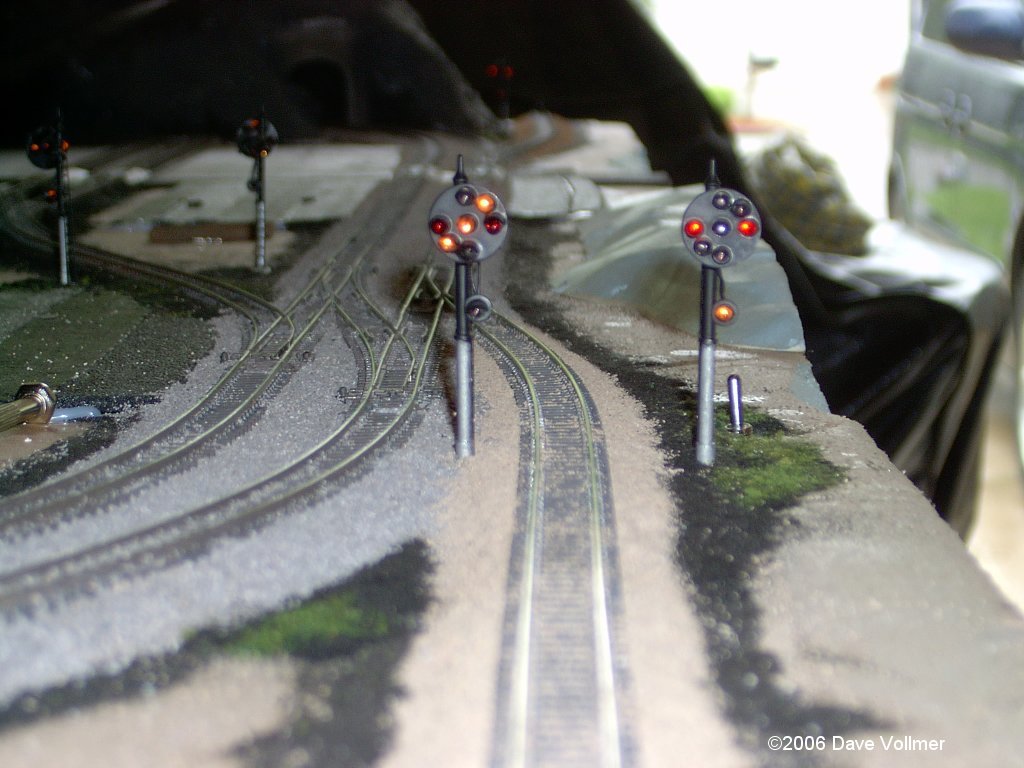
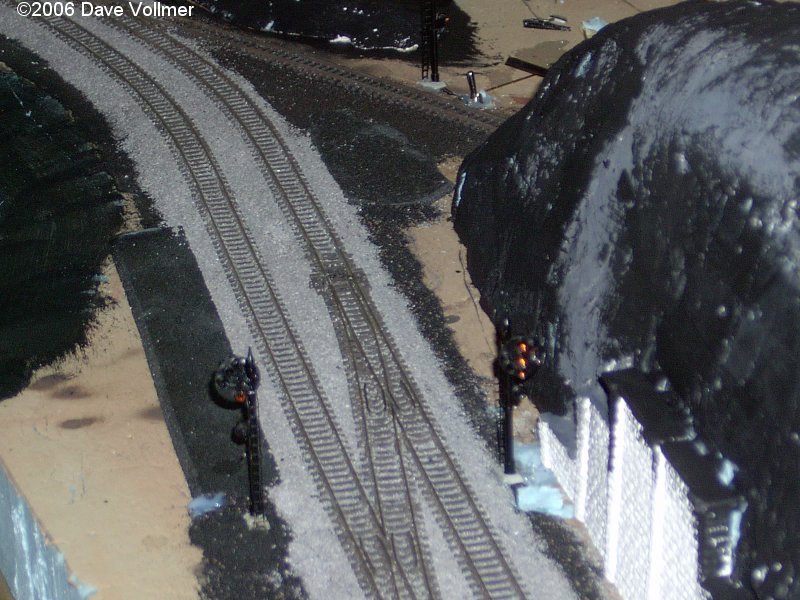
Home signals at LEW Interlocking are
installed. Look carefully and you can see five signals (hint: look
way toward the back). |
|
|
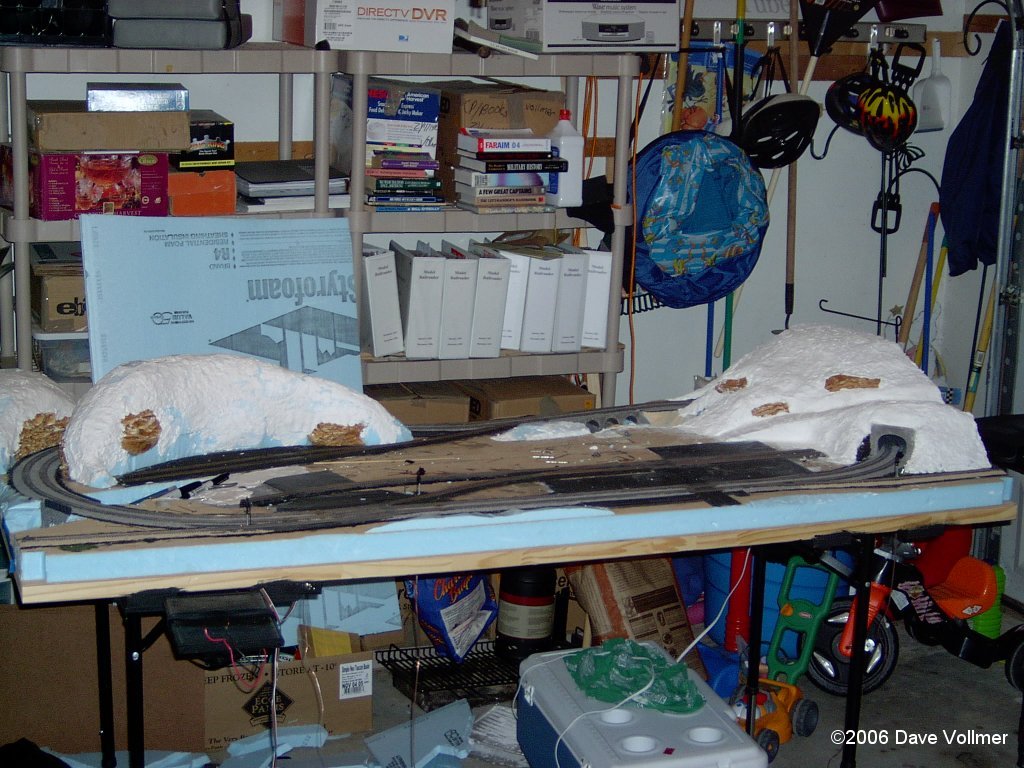
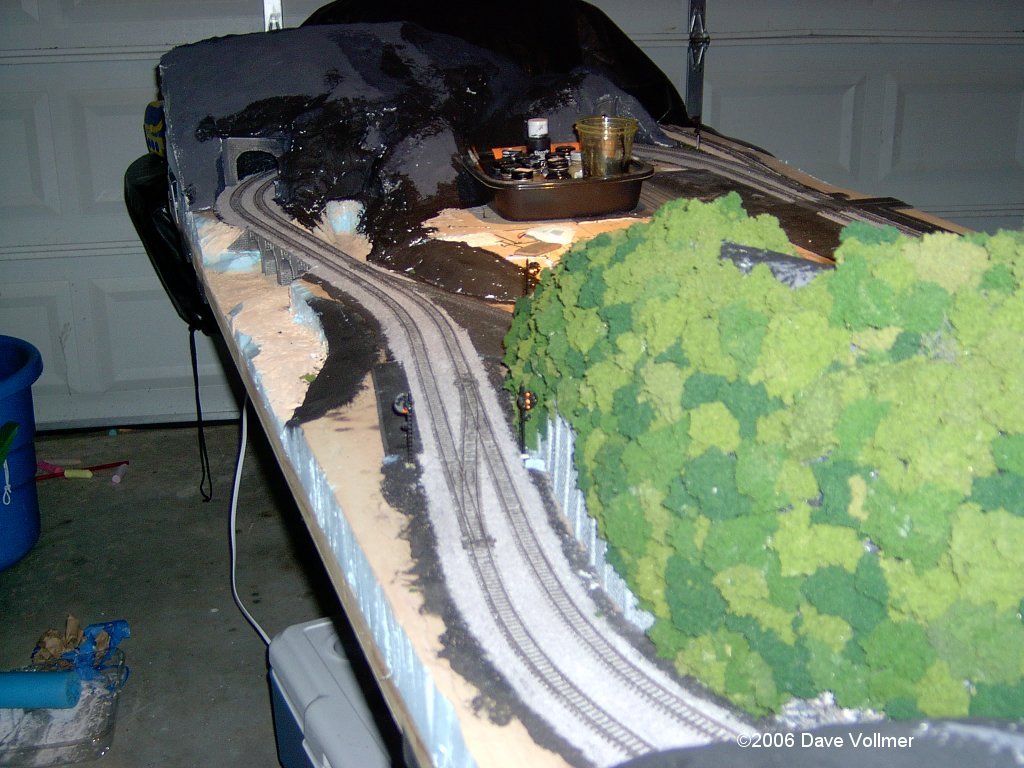
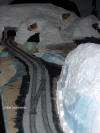
Mountains have been installed, using
a combination of Styrofoam, plaster, plaster gauze, and Sculptamold.
A visitor asked if I was modeling the Arctic! |
|
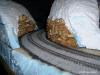
|
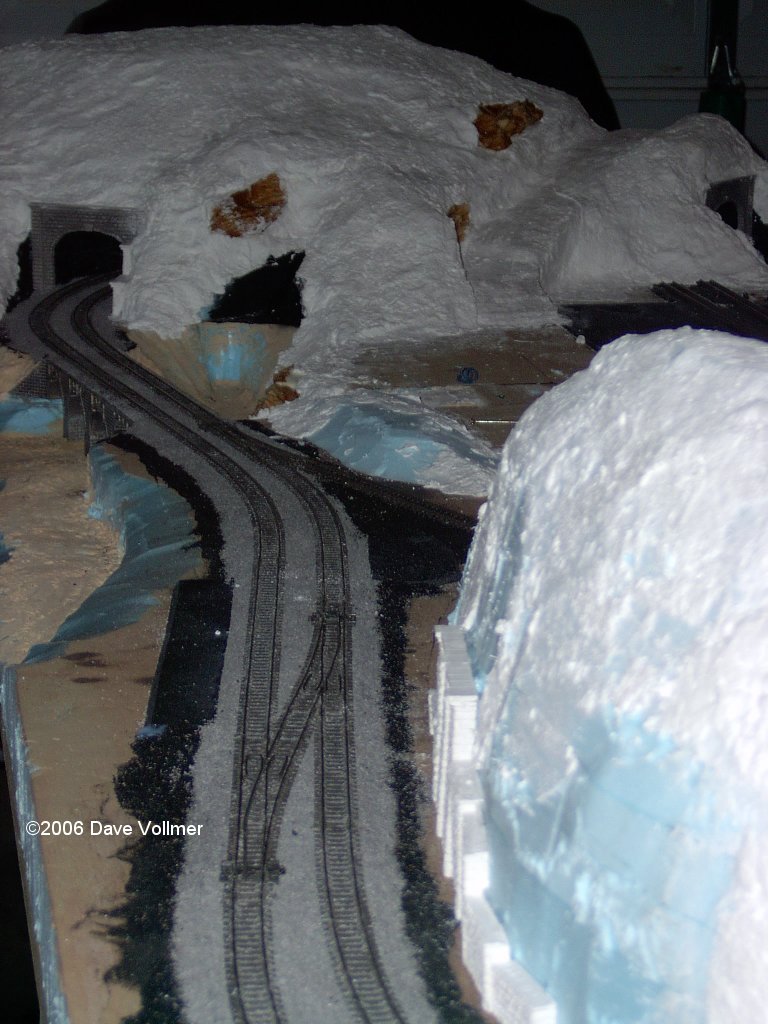
The "Arctic" mountains at M
Interlocking. The rock castings are Mountains in Minutes Flexrock
Castings. |
|
|
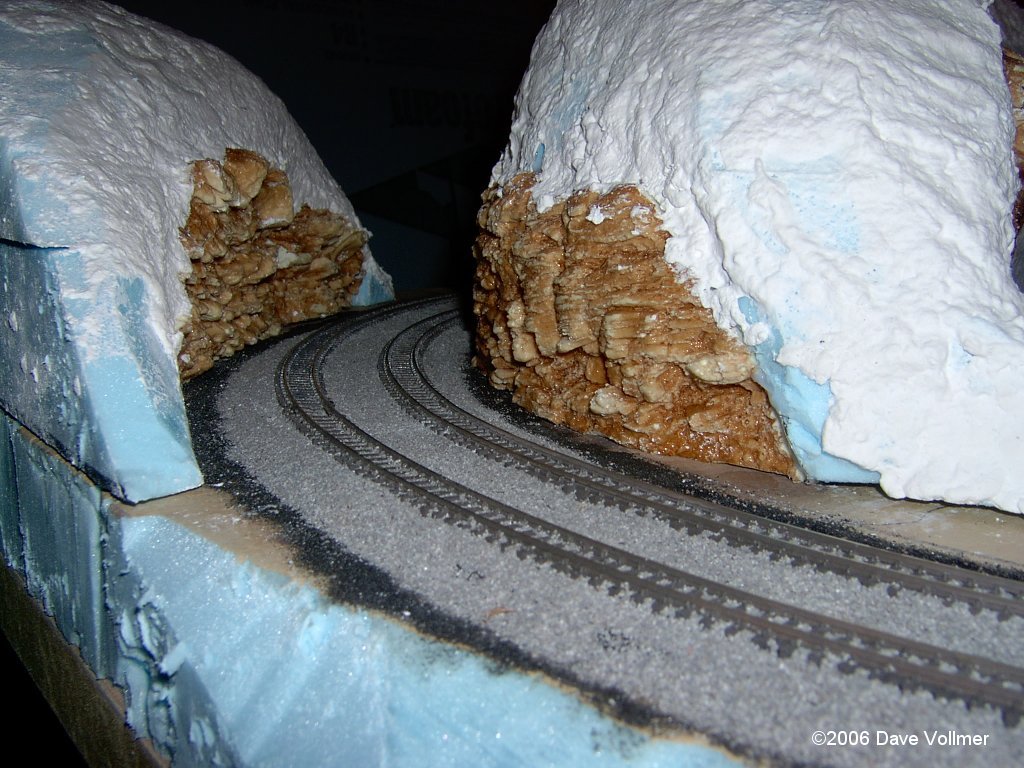
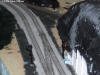
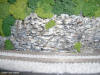
Here's the rock cut using the
Flexrock castings. This will look much different when painted (see
below). |
|
|
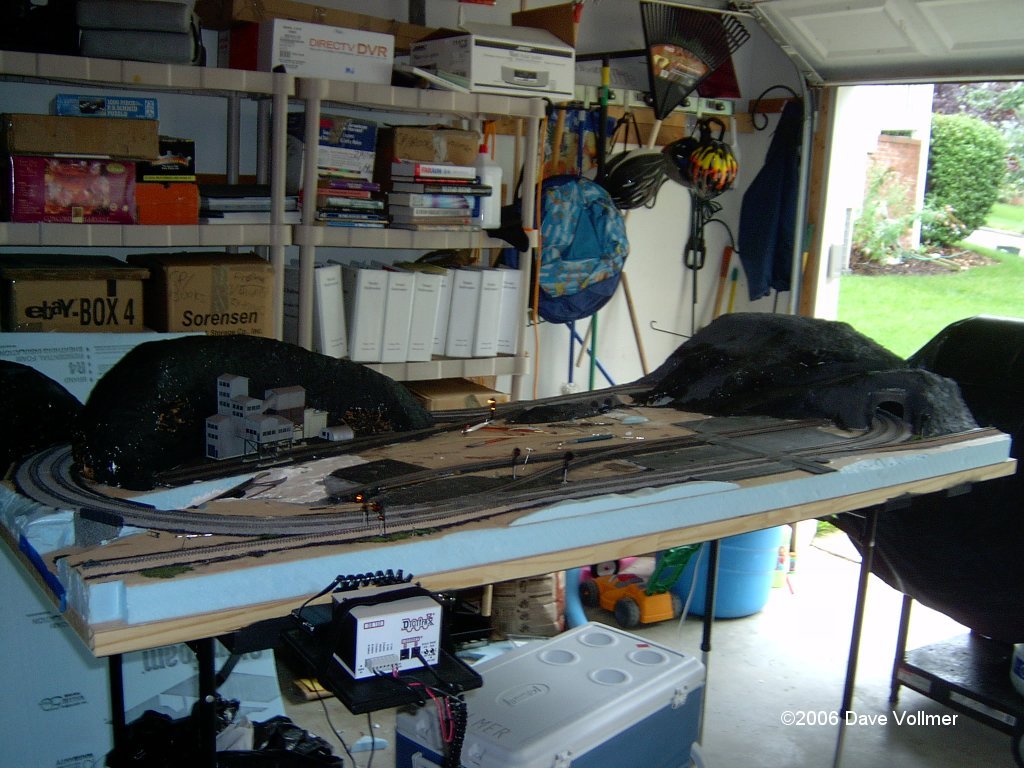
The mountains have been painted black
in preparation for foliage. The black base color will add apparent
depth to the foliage. |
|
|
Another view of M Interlocking before
foliage is added. Notice the home signals. |
|
|
Finally adding foliage. This is
pretty mind-numbing, so since I hadn't glued the mountain to the
layout yet, I did this in the living room so I could spend time with
the family! |
|
|
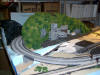
Another view of the "first draft" of
foliage on the main scenic divider at M Interlocking. I ran out of
low-temp hot glue; thus the big black patch on top of the mountain.
Also, I plan to sift Woodland Scenics fine green blend ground foam
over the tree tops to blend them a little better. Also missing are
the pine trees to be added later. |
|
|
Here's part of the rock cut showing
the painted Flexrock castings by Mountains in Minutes. I start with
flat black latex, and add about 6-8 shades of Polly-Scale acrylic
paints all while still wet in order to blend them. The last step is
to drybrush the edges of the rocks with Polly-Scale white. |
|
|
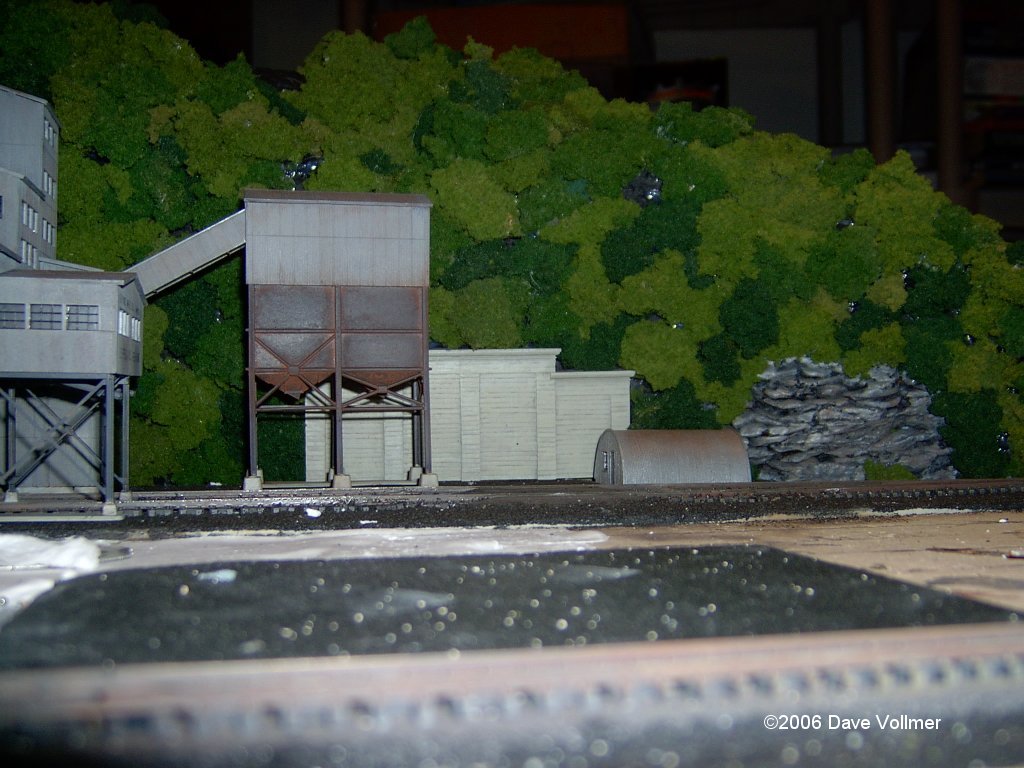
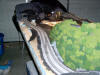
Test-fitting the coal mine. Some of
the trees need to be trimmed. Also, notice some of the gaps in the
foliage... those will be filled in a "second pass" with clump
foliage and white glue. This area looks pretty sterile for a coal
mine! Junk, weeds, trucks, and coal dust will be added later. |
|
|
Here the 1/8" Masonite hardboard
fascia has been added and painted flat black. The layout is ready to
go upstairs to its new home. |